Affiliate Disclosure
This post contains links through which we may earn a small commission should you make a purchase from a brand. This in no way affects our ability to objectively critique the products and brands we review.
Hair Care Routine: 5 Easy Steps
Research-Based Article
Evidence Based Research To fulfill our commitment to bringing our audience accurate and insightful content, our expert writers and medical reviewers rely on carefully curated research.
Read Our Editorial Policy


Growing hair is easy—our bodies do most of the work, after all! The only thing we need to do to keep it growing is eat a well-balanced, healthy diet packed with micronutrients.
But once that hair grows, taking care of it and keeping it healthy isn’t always such a walk in the park.
That’s why it’s essential to find a hair care routine for your specific hair type that will help you get that healthy, shiny hair you’ve been craving.
Below, we’ll cover a very basic 5-step hair care routine that will help promote a healthy scalp, prevent damage, and keep your locks long and luscious.
Easy 5-Step Hair Care Routine
Before we dive in, we want to note that this hair-care routine alone may not be enough to keep every hair type looking fresh and healthy.
If you have curly hair, oily hair, or a kinky hair texture, you may need more hydration in your routine, additional styling products such as gel, mousse, creams, etc., to help define your lengths and a bonnet or silk scarf to use at night to protect your hair and stay frizz-free.
If you have color-treated, bleached, or permed hair, you should also use products designed specifically for chemically treated hair that will help prevent further damage and breakage.
However, the nice thing about this routine is that you can start with this as the “base” and build off of it as needed for your hair.
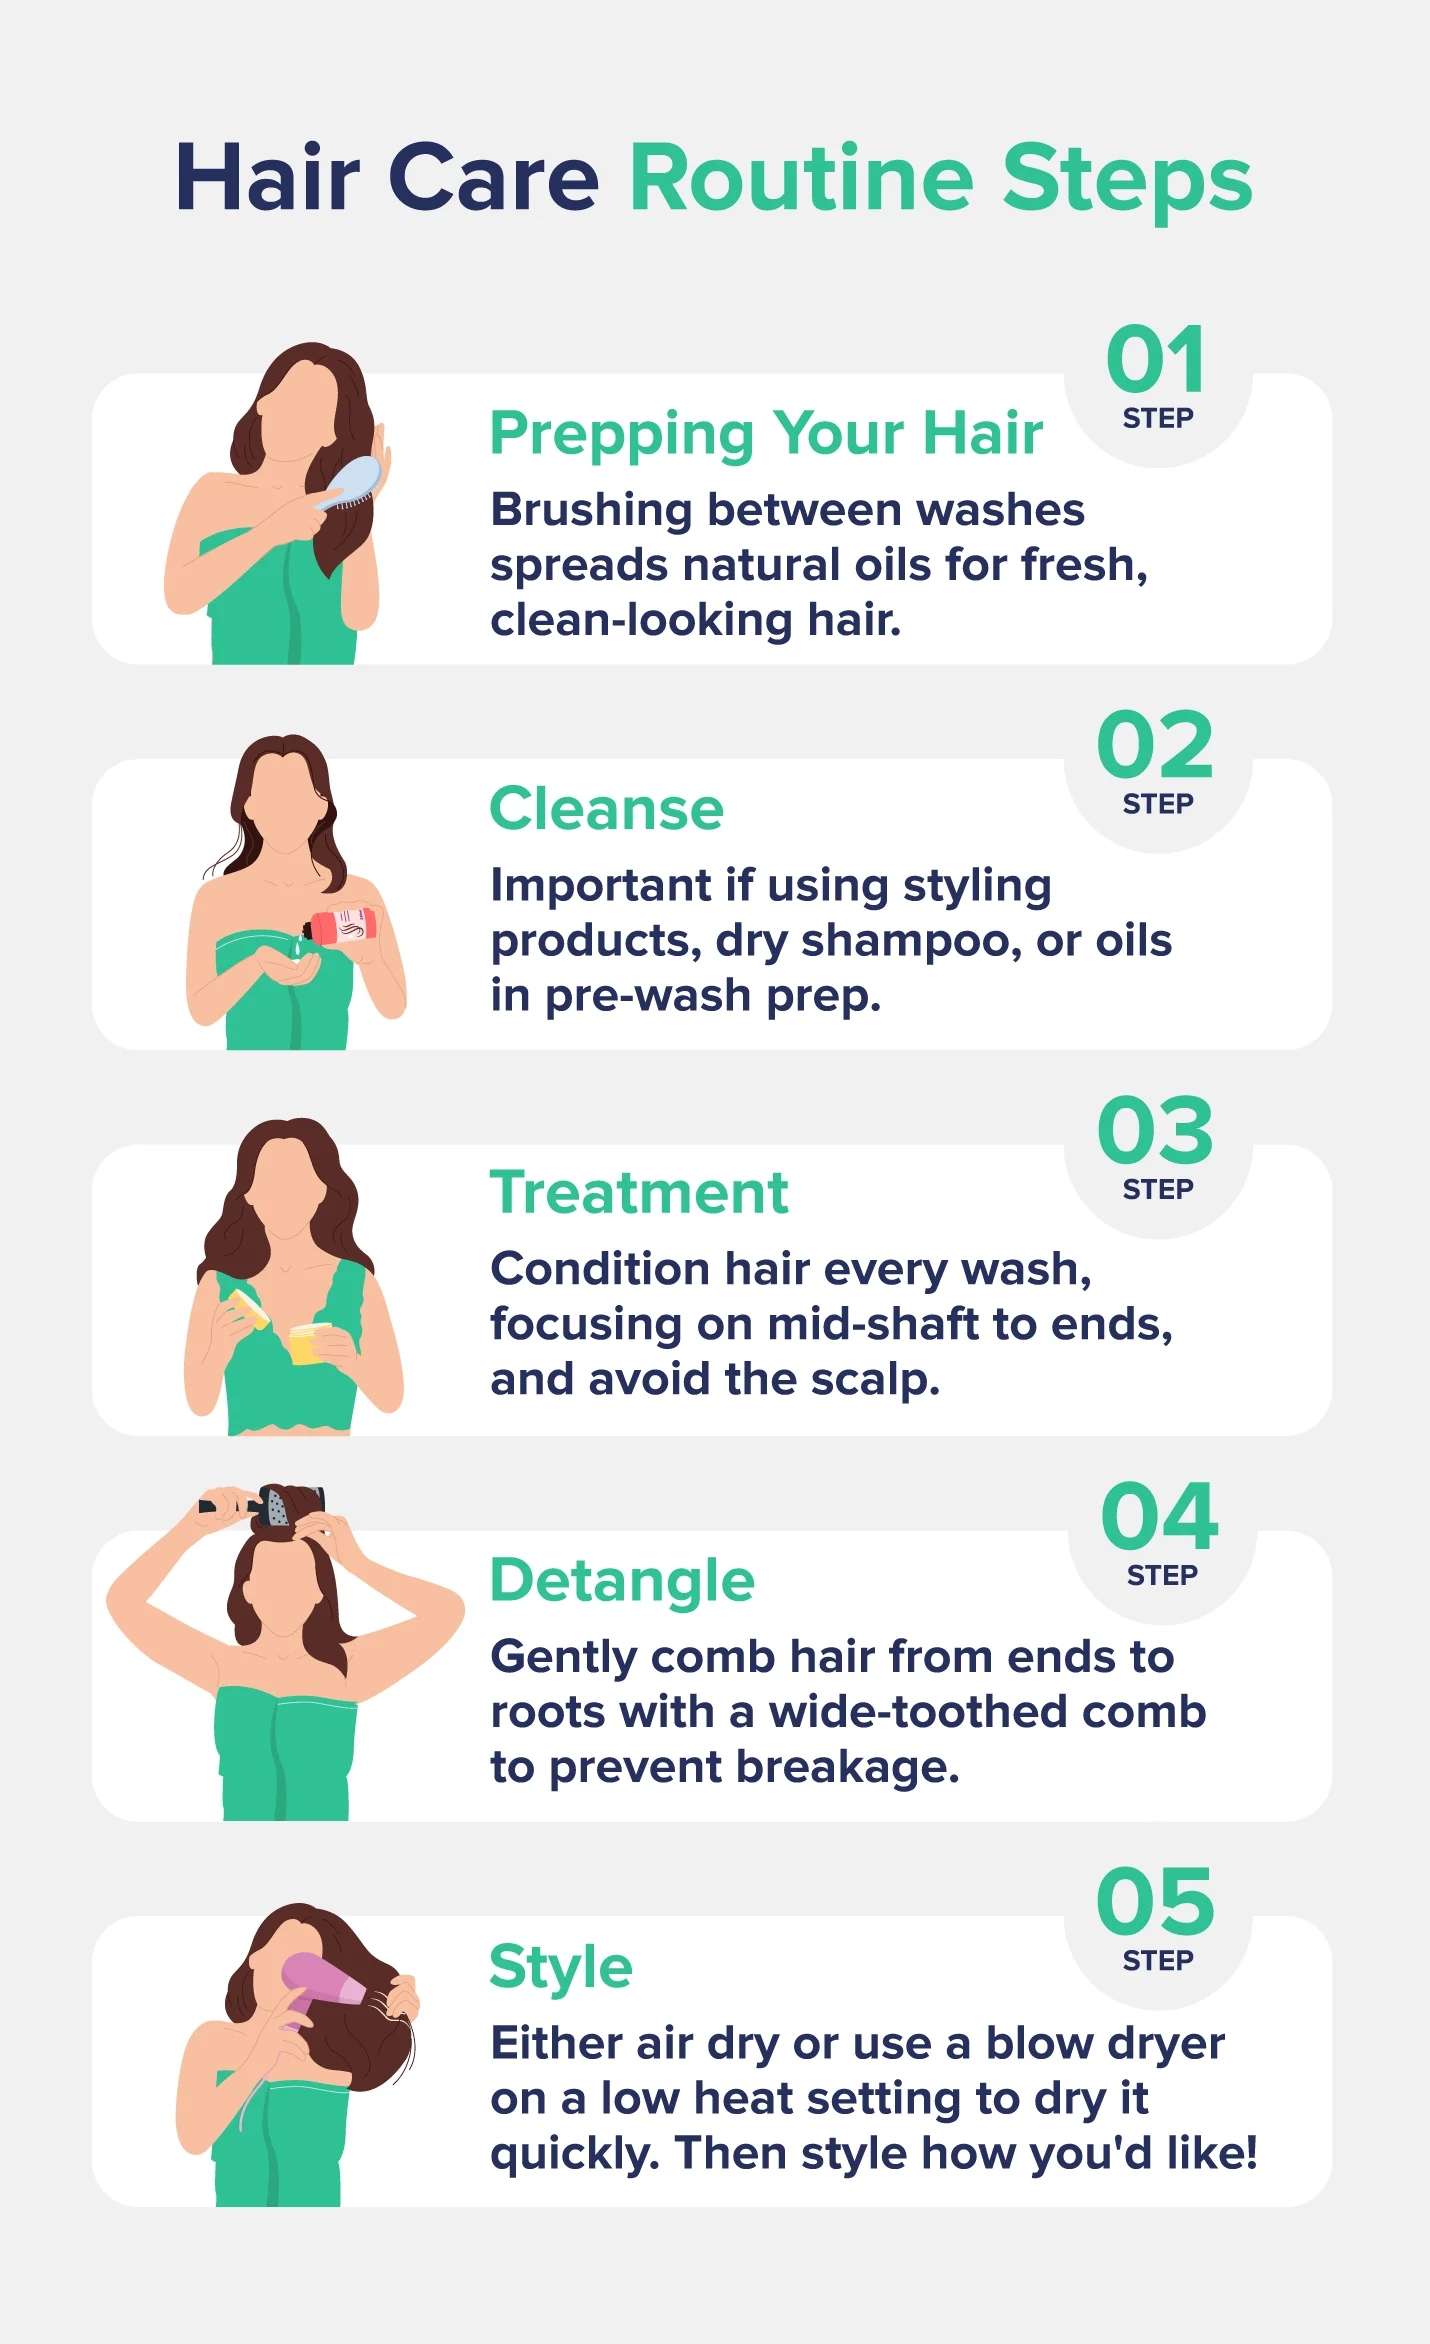
Step 1: Prepping Your Hair
Preparation is what separates a good hair care routine from a great one.
Brushing Your Hair
Whether you have straight or curly hair, brushing it out between washes or right before your shower is never a bad idea. There are two reasons why.
One, brushing your hair between washes will help carry your hair’s natural oils from the roots down and keep your hair looking fresh and clean.
We recommend you use a boar bristle brush since these have porous fibers that can more effectively absorb and drag down oils in your hair.
The second reason is that brushing your hair right before the shower can help keep your hair from becoming tangled during the shampoo process.
Pre-Wash Oils
If the ends of your hair feel dry and a bit stiff from heat or chemical damage, you might want to try a pre-wash oil to prevent your hair from absorbing water and becoming even more damaged.
This might sound odd since many hair products advertise themselves as hydrating––creating this association that hair needs moisture to be healthy––but when hair becomes damaged, it becomes more porous and absorbs water more easily.
By sealing the cuticles with a pre-wash hair oil, we can prevent further damage to our ends and reduce the appearance of split ends.
Hair experts on social media––such as @AbbeyYung on TikTok––recommend applying the OGX Damage Remedy Coconut Miracle Oil to the ends of your hair about 10-15 minutes before your shower and then washing as normal.
If you’re also trying to improve your hair growth, you might try applying a scalp treatment prior to your shower––or even the night before if you shower in the morning––such as the Mielle Rosemary Mint Scalp & Hair Strengthening Oil.
Now that you’ve done your pre-wash treatments, you’re ready to cleanse.
Step 2: Cleanse
Now it’s time for the fun part––getting your hair sparkling clean! While you might think you’ve got this part down, we’ve got a few tips that may help clean your hair more effectively.
This is especially important if you use any styling products, dry shampoo, or oils in your pre-wash prep.
First, wet your hair as usual and make sure it’s thoroughly soaked before grabbing the shampoo.
Next, apply a quarter-sized amount of shampoo to your palms and rub your hands together to emulsify. This will help the product to spread more easily and evenly throughout your hair.
Now, the next step is up to you, but we recommend starting with the oiliest parts of your scalp first to make sure those areas don’t get missed.
For most people, this is usually the nape of your neck, the crown, or behind the ears. Any leftover product can be spread along your hairline.
Now, make sure to really use the tips of your fingers to massage the shampoo into your scalp and roots and build up some suds.
For additional help in the cleansing step, you could try this scalp massaging brush, which may also encourage blood flow and improve hair growth.
If you aren’t getting a lot of suds, your hair might have a bit of build-up. Rinse your hair and cleanse it again, but with a smaller amount of shampoo.
This goes for most hair types, but if you have dry or damaged hair, you especially want to avoid shampooing the ends of your hair. These parts will get plenty clean when you rinse the shampoo out.
For those who feel like an oily mess after just 24 hours, you might want to try a clarifying or detoxifying shampoo to help break down any potential build-up in your hair and see if that’s the culprit.
Keep an eye on your hair and how quickly it becomes oily. If the clarifying shampoo works, and you can go longer without washing your hair, you probably had product build-up.
If it remains the same, continue washing your hair frequently, use deeper cleansing shampoos once or twice a week, and try salicylic acid leave-in treatments like this one from The Inkey List to help balance scalp oils.
Lastly, always use warm water instead of hot water when washing your hair––it’s also better for your skin, too!
Step 3: Condition or Treatment
The conditioning or treatment step of a hair care routine can look a bit different for everyone since we all have varying hair types, concerns, or goals.
Regardless of your hair type, you should condition hair every single time you wash it, focusing on the mid-shaft and ends and avoiding the scalp.
Once or twice a week, you might also want to apply a deep conditioner or hair mask designed for your hair type.
For dry and damaged hair, hair masks or a deep conditioner are essential. If you’re willing to splurge, the K18 Leave-In Molecular Repair Hair Mask is considered to be one of the top treatments for damaged hair.
If you have curly hair, you might condition your hair as normal––some even condition before shampooing to help detangle hair––and add a leave-in conditioner to help keep your hair moisturized and defined during the styling process.
Step 4: Detangle
You may have noticed in the previous step that we didn’t tell you to wash it out. If you caught that, go you!
This is because before washing out your conditioner, you should go in and detangle your hair.
This will help you shed old hairs that are ready to fall out and prep your hair for styling after your shower.
You can use your fingers for this step as you wash out your conditioner, but we recommend you use a wide-tooth comb or a brush designed specifically for wet hair to help comb through your lengths without damaging the hair.
Being gentle with your hair at this stage is so important because your hair is very fragile when wet. Do not use your regular brush to detangle hair in the shower.
Step 5: Style
Once you’ve taken care of your other shower steps, it’s time to style.
While it’s annoying to buy yet another one-trick pony product, a microfiber towel is truly essential for a good hair care routine.
These are more gentle than the cotton terrycloth towels we use to dry off with and absorb water more quickly, making styling faster and resulting in less frizz.We really love these ones, but you could also use a stack of microfiber cloths like these, which could double as face or shower washcloths.
Air Dry or Blow Dry
While it is recommended to limit the use of heat tools as much as possible to prevent heat damage, this study found that drying your hair with a blow dryer is better for your hair than air drying.
This is because, with air drying, your hair remains wet for longer, allowing water to seep into the cortex of your hair and disrupting its integrity.
As a result, drying your hair as quickly as possible is better. This can be done with a microfiber towel, as mentioned above, or with a blow dryer.
With that said, even though drying your hair quickly can be better for your hair, when using heat styling tools such as a hair dryer, curling iron, or flat iron, always use low heat (below 350ºF) and a heat protectant.
This will reduce the amount of damage that can happen with heat styling and result in a sleeker style that lasts longer, too.
Taking Care of Your Hair Between Washes
Okay, we have to be honest; there might be one more step to the 5-step hair care routine above.
So, let’s call this Step 0––the hair care you should be doing between washes.
Now, you don’t have to do all of these (or any of these, for that matter), but these can help keep your hair healthy, stay less oily between washes, grow healthier and more quickly, and help your styles last longer without hairspray.
Hair Oiling
Besides oiling your hair before your shower, you can also apply a very light hair oil to the ends of your hair to keep it looking shiny and healthy.These are sometimes called styling or finishing oils. We really like this one from Biosilk, which is great for all hair types, from fine to thick hair.
Scalp Massages
Besides how amazing it feels, this study indicates that scalp massaging may even improve hair growth and help it grow thicker.
You can use the same scalp massager as the one we linked above to help cleanse your scalp.
Hair Growth Supplements
There is anecdotal evidence that hair growth supplements can help, and they may be particularly helpful if you have a certain deficiency. However, there are no strong clinical studies to support this, but research is ongoing.
Supplements, such as collagen, are potentially helpful with long-term use, but we just don’t have the clinical studies to prove it yet, and we don’t know the mechanism for how supplements may help.
Protecting Hair While Sleeping
Protecting hair with a silk or satin bonnet or scarf is an easy and foolproof way to protect hair from breakage when tossing and turning at night.
This can also reduce frizz, particularly for curly-haired people, and keep your blowout looking fresh.
If you’re on Instagram or TikTok, you’ve probably noticed the heatless curls trend has skyrocketed in popularity as a way to protect hair at night.
This is also a great alternative to using heat tools in between washes.
Dry Shampoo
To help extend the amount of time between washes, you can use dry shampoo on your roots to help absorb your hair’s natural oils.
Some people say that dry shampoo is difficult to wash out and that it might clog your hair follicles.
There isn’t solid evidence for this, but for now, we suggest you use it sparingly or only on the last day before you wash your hair.
Regular Trims
While it might seem counterintuitive to growing your hair long (if that’s your goal), getting regular trims is one of the best ways to maintain healthy-looking hair and help with hair growth.
This removes split ends that can make your hair look dull and dry.
Hair Care Routine FAQs
What is a proper hair care routine?
While this 5-step routine is a great way to take care of your hair, a proper hair care routine doesn’t need quite all of the bells and whistles above.
At the bare minimum, you should use a good shampoo and conditioner curated for your hair type and heat protectant if you use any heat styling tools. If you use any leave-in or styling products, use an inexpensive clarifying shampoo once a week to every two weeks to remove build-up and refresh your scalp.
What order should I do my hair care in?
Step 0: Taking care of hair between washes. Protecting hair at night. Getting regular trims. Hair oiling. Hair supplements. Dry Shampoo. Scalp Massages.
Step 1: Prepping your hair. Oiling ends and scalp to prevent further hair damage. Brushing hair to prevent tangling.
Step 2: Cleansing. Shampoo once or twice as needed. Use a scalp massager to cleanse and promote blood flow around the scalp.
Step 3: Conditioning & treatment. Using conditioner appropriate for hair types or concerns. Add in treatments might be necessary for dry or damaged hair or curly hair.
Step 4: Detangle. Use a wide-toothed comb or hair brush designed for wet hair to detangle after adding conditioner or treatments. Rinse with warm, not hot, water.
Step 5: Style. Use a microfiber hair towel to gently dry hair. If damp, air dry. You can also use a blow dryer to dry hair. Always use heat protectants with any heat-styling tools.
What hair products do I actually need?
You really only need a good shampoo and conditioner. If you want to avoid overspending, purchase an inexpensive hair mask or treatment that addresses some of your hair needs and a good heat protectant if you use heat styling tools.
You Might Also Like
6 Easy Ways to Improve Your Gut Health
Looking for new ways to improve your gut health? Check out our list of ways that you can take your gut to the next health level.
Read More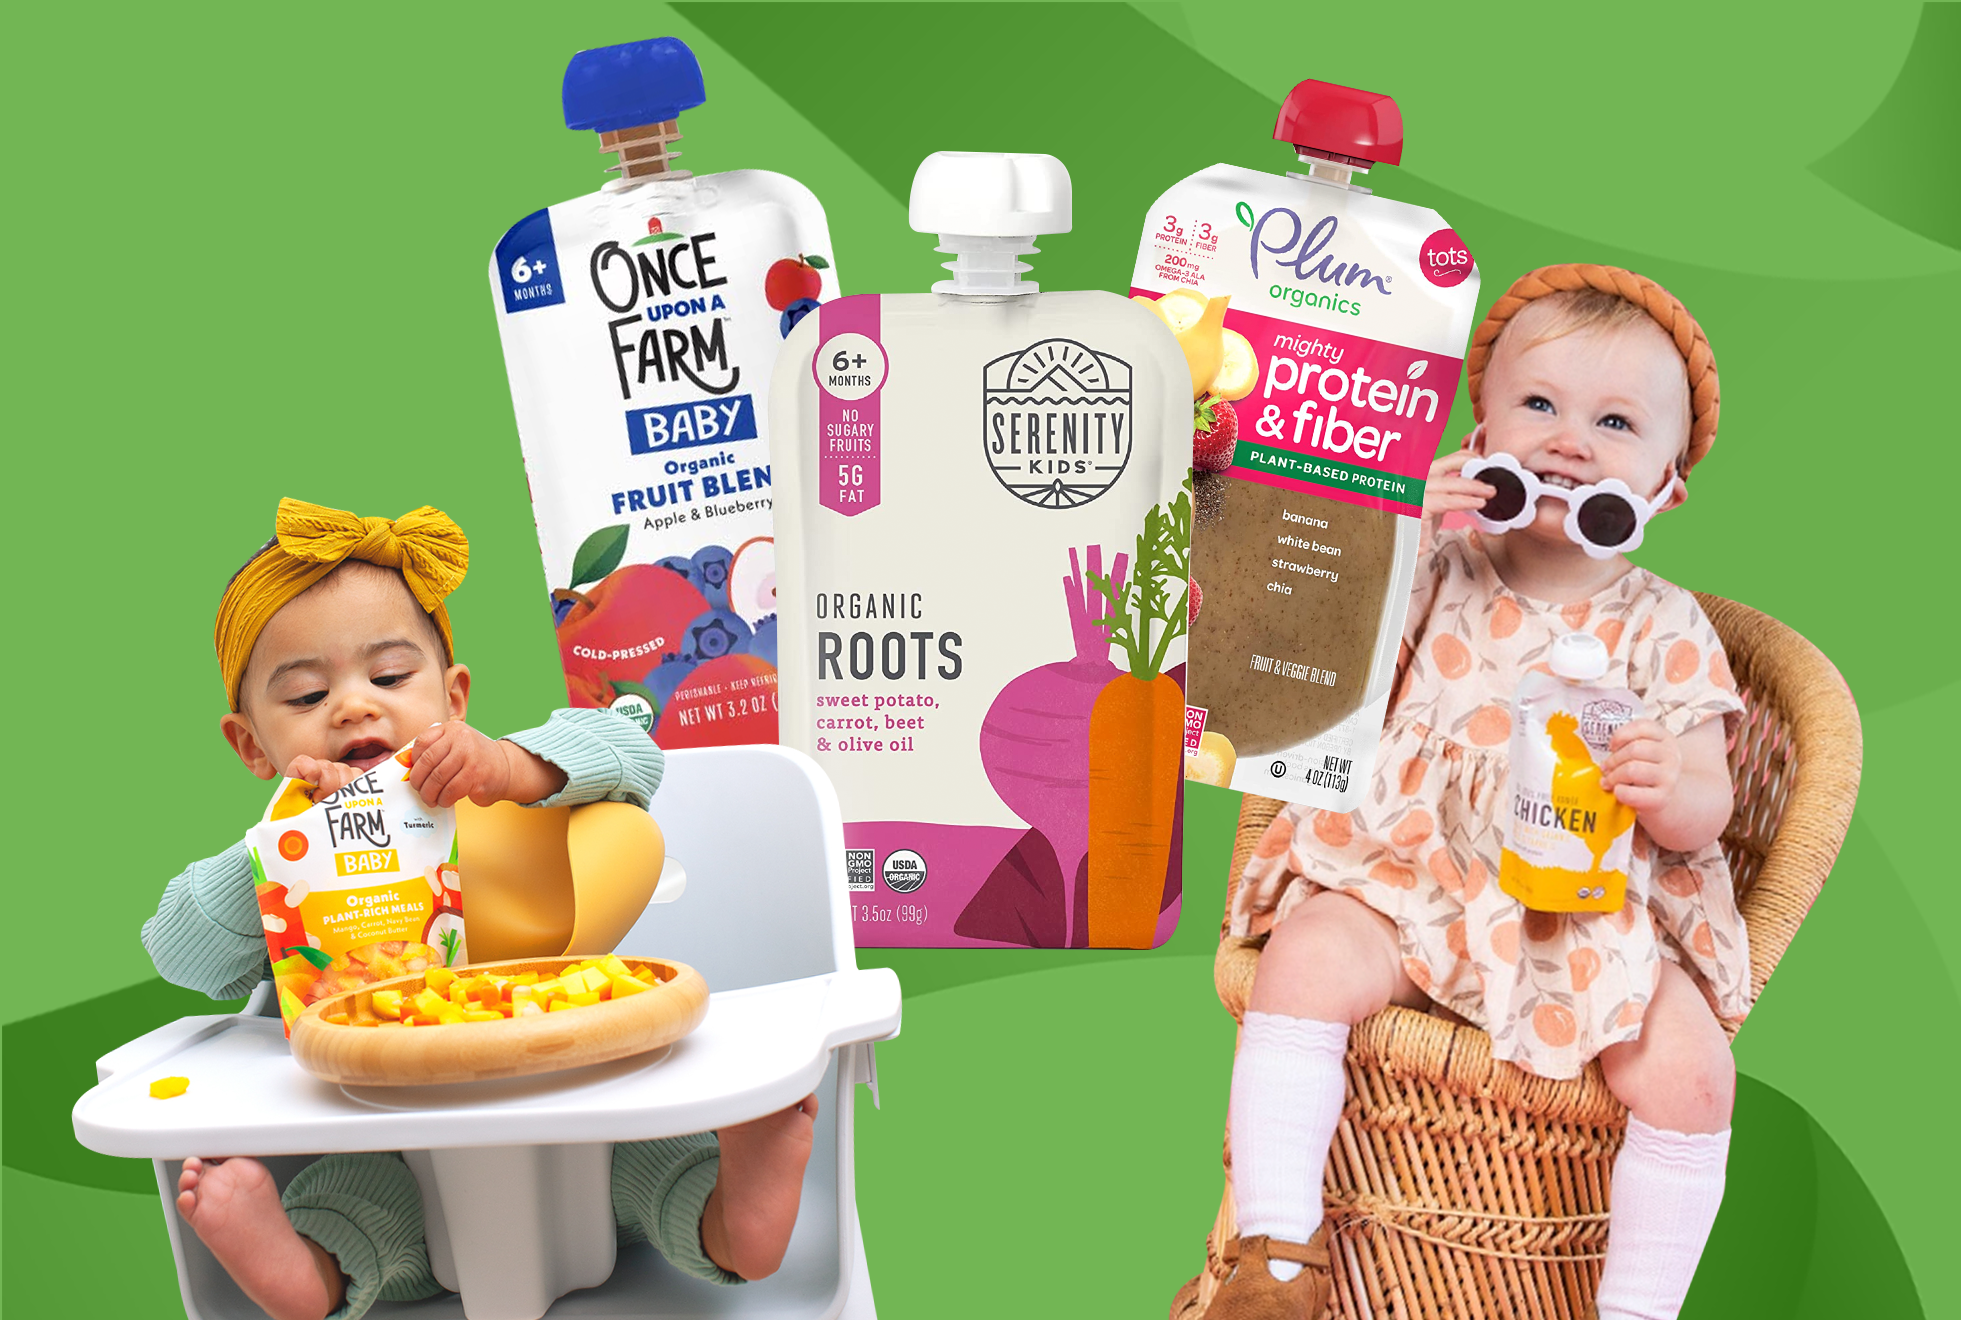
The 6 Best Baby Food Brands in 2024
We’ve evaluated the best baby food and have narrowed it down to six contenders. Pick the one that best fits your needs and budget.
Read More